If you are looking for a baseball off-season workout, then you are in the right place. We have already discussed general guidelines for a baseball training program, and then laid out a sample baseball off-season workout for Phase 1 and Phase 2. If you have not read those three different posts, then I would recommend going back to check them out before continuing.
Now, let’s take a look at Phase 3.
During the first two months of the off-season baseball players need to concentrate on their strength and conditioning and give their throwing arms some time off from throwing. While we recommend not throwing through Phase 3 as well, you can consider starting your throwing program later in the month. Waiting until November will give your arm a full 3 months of recovery from the stresses of throwing a baseball. That’s 25% of the year and can make a huge difference in how you feel and how well your arm “bounces back” when you do pick up a baseball again.
We’ll discuss the specifics of adding in a throwing program more in Phase 4.
Let’s take a look at the overall year again and discuss our goals for Phase 3. As seen below, the training year can be broken down into off-season, pre-season, and in-season segments. Within each season, you can break down the different months into 4 week phases.


Overall goals to keep in mind for the four phase baseball off-season are to recover from the previous season, rehabilitate existing/nagging injuries, and develop a strength and conditioning foundation for the following training year.
Unless injuries were season-ending, any nagging issues should begin to fade by the 3rd month of the off-season. So, for Phase 3 specifically, our goals will be, but are not limited to:
- Evaluate Phase 2 and make necessary changes to general strength program.
- Progress strength exercises where appropriate.
- Upper body pulling exercises should balance out pushing exercises. Depending on the individual, some pushing exercises could be eliminated. Or, plan pulling vs. pushing exercises in a 2:1 ratio.
- Increase volume of power-based movements such as medicine ball work and plyometrics
- Consistently perform soft tissue and flexibility work.
- Continue to hold off on any throwing. Or, start a light throwing regimen near the middle to end of the month. This will really vary depending on the individual.
- If you have not done so already, consider adding in baseball-specific conditioning.
Phase 3 begins where Phase 2 finishes. Depending on your training experience and level of fatigue at the end of Phase 2, you may want to consider a deload or recovery week prior to beginning Phase 3. Younger athletes with less training experience will not need that deload week as much as a ballplayer who has been training for 3-5 years. For the most part though, you need to take your own personal assessment of how you feel and make the call from there.
Off-Season Baseball Strength Program – Phase 3 Overview

The TP Quadballer is excellent for soft tissue work.
Each training day will include the following segments, and each segment will be done in the order listed:
- Foam Roll/Soft Tissue Work
- Pre-hab
- Dynamic Warm-up
- Strength Work
- Conditioning
- Post-Training Session Static Stretching
- Foam Roll
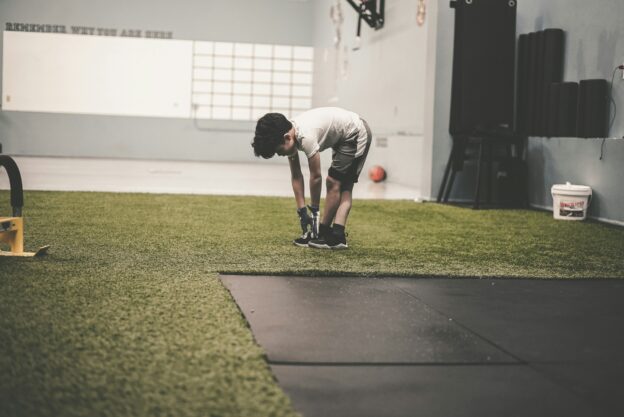
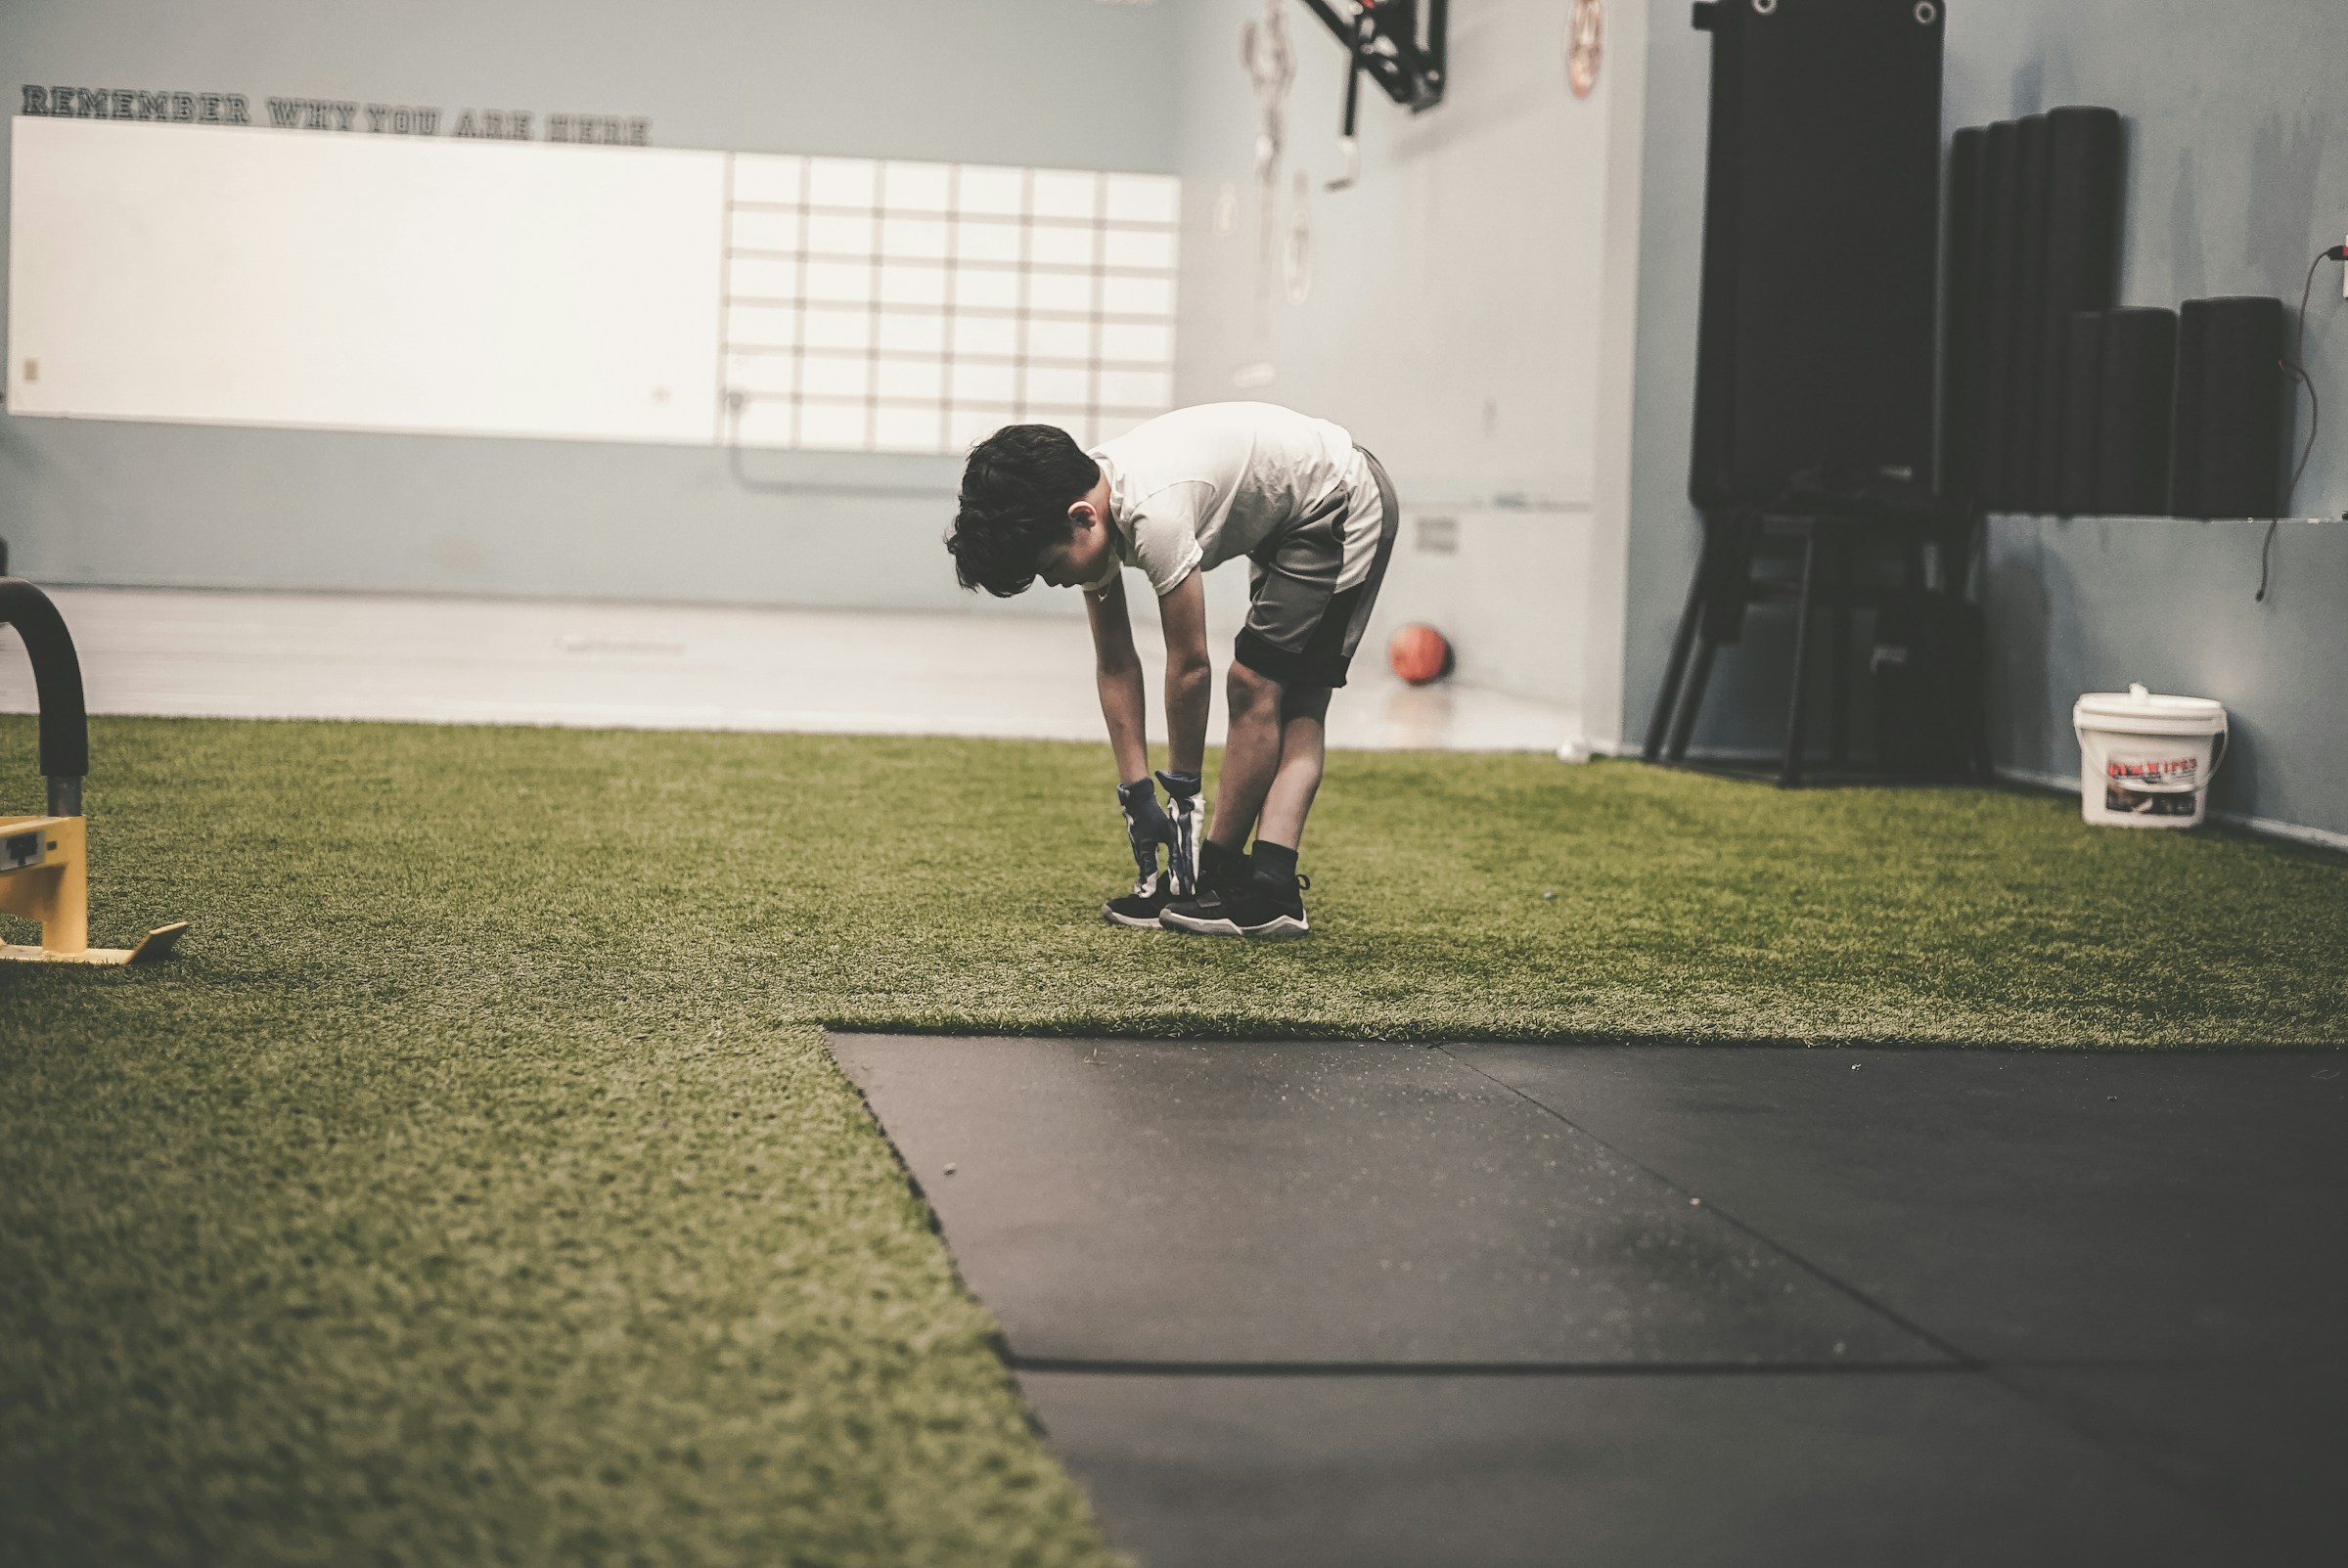
For the purposes of this article and to make a smooth transition from the sample Phase 2 program, a 3-day per week program will be considered. Just remember, depending on the individual athlete and how the program is structured, a baseball off-season strength program can be anywhere from 2-5 days. Also, we have already discussed soft tissue work, pre-hab, and dynamic warm-up protocols in the sample Phase 1 post. So, if you would like to learn more about those aspects of the program, please review them here.
Sample Off-Season Baseball Strength Program – Phase 3
For Phase 3, be sure to train on non-consecutive days. You’ll want to give your body 36-48 hours to recover between training sessions. While the examples below will include conditioning on the same days as lifting, you could perform your baseball conditioning on non-lifting days. For example, if you strength train on Mon/Wed/Fri, you can perform you conditioning after your lifting session on those same days or on Tues/Thurs/Sat. If you decide to complete your lifting and conditioning on opposite days, be sure to have at least one day per week that is devoted completely to recovery. In this example, that would be Sunday. That means no strenuous activity. Either take the entire day off or focus just on soft tissue work and static stretching.
**We understand that you may not be familiar with many of the exercises listed below. A quick search will direct you to videos and explanations that can help you better understand the movements. However, just watching a video will not take the place of a qualified strength and conditioning coach who can demonstrate technique and properly correct form if there are any issues. When in doubt, do not perform the movement. Seek guidance and instruction. If any exercise causes pain, use common sense and do not do it.**
Day 1
Foam Roll
- Glutes – 1 x 60 seconds each side
- IT Band – 1 x 60 seconds each side
- Quads – 1 x 60 seconds each side
- Groin – 1 x 60 seconds each side
- Hip Flexor/TFL – 1 x 60 seconds each side
- Mid/Upper Back – 1 x 60 seconds each side
When foam rolling or completing soft tissue work, be sure to listen to your body. It will tell you if certain areas need more or less focus. You can always spend longer on one area if need be.
 Pre-hab
Perform the following movements in a circuit by completing one set of each exercise and then return to the start and complete any movements with additional sets.
- Glute Bridge – 2 x 12, hold last rep 20 seconds
- Squat with mini-band – 2 x 10
- Standing Rotations – 2 x 8 each side
- I’s, Y’s, T’s, External Rotation with band – 2 x 10 each (or Crossover Symmetry program)
- Stability Ball Kneeling Rollout – 1 x 10
Dynamic Warm-up
The following should take 10-12 minutes to complete. Set up two cones 10-15 yards. Start on one cone and move in the direction of the second. When you complete the required distance for a movement, jog back to the starting cone. Complete each movement deliberately. Do not just go through the motions.
- Walking Lunge – 1 x 10 yards
- Reverse Lunge with Reach and Lean – 1 x 10 yards
- Walking Knee Hugs – 1 x 10 yards
- World’s Greatest Stretch with Rotation towards lead leg – 1 x 10 yards
- Footwork/Movement Drills
- Tall, Lean, and Fall Drill, 5 Yards – 1 each @ 60%, 70%, 80%, and 90% effort
- Crossover shuffle in place to 5 yard acceleration – 1 each @ 60%, 70%, 80%, and 90% effort
- 2 over, 2 back in place to 5 yard acceleration – 1 each @ 60%, 70%, 80%, and 90% effort
- Lateral Shuffle – 1 x 10 yards each direction
Strength
Exercises listed below are paired in supersets. Training in supersets means that you will perform one set of the first listed exercise and then one set of the second listed exercise. Take 45-60 seconds of rest and then repeat for the second set of each. Continue this method until all sets in a given superset are completed. Then, move to the next two exercises that are paired together as a superset.
- 90 Degree Rotational Box Jump – 4 x 3 each
- “Hot Feet” Medicine Ball Rotational Chest Pass – 4 x 3 each side
- Trap Bar Deadlift – 3 x 5
- 1-arm DB Bench Press – 3 x 6 each
- TRX Single Leg Squat – 3 x 8 each
- Inverted Row – Overhand Grip – 3 x 10
- Stability Ball 1-leg Hamstring Curl – 2 x 6 each
- TRX W’s – 2 x 10
- Cable Pallof Press – 2 x 5 each side; 3 sec hold each rep
- Reverse Hyper – 2 x 10
Conditioning
Delayed Steal Sprints – With this specific conditioning drill you will get to work on your delayed steal technique while also mixing in some sprint work. Set up three cones – a start cone, a cone at 45 feet, and a cone at 90 feet. Assume the lead off position at the start cone. Pretend the pitcher has started his delivery and take two shuffles toward the second cone. The shuffles should be aggressive and cover as much ground as possible. Upon completion of the second shuffle, turn your hips and sprint. Complete your sprint through the prescribed distance. The first few sets really let you work on your acceleration.
- 2 x 45 feet – Sprint through the halfway cone and jog it out the remainder of the 90 feet. Walk back to the start cone for rest.
- 4 x 90 feet – Sprint through the 90 foot mark (not to it). Walk to the start cone for rest.
- 2 x 45 feet – Complete as described above.
Static Stretching
- Hamstrings – 1 x 60 seconds each
- Groin – 1 x 60 seconds each
- Piriformis Stretch – 1 x 60 seconds each
- Hip Flexor Stretch – 1 x 60 seconds each
- Calves – 1 x 60 seconds each
Foam Roll
- Glutes – 1 x 60 seconds each side
- IT Band – 1 x 60 seconds each side
- Quads – 1 x 60 seconds each side
- Groin – 1 x 60 seconds each side
- Hip Flexor/TFL – 1 x 60 seconds each side
- Mid/Upper Back – 1 x 60 seconds each side
Day 2
Foam Roll
- Glutes – 1 x 60 seconds each side
- IT Band – 1 x 60 seconds each side
- Quads – 1 x 60 seconds each side
- Groin – 1 x 60 seconds each side
- Hip Flexor/TFL – 1 x 60 seconds each side
- Mid/Upper Back – 1 x 60 seconds each side
Pre-hab
Perform the following movements in a circuit by completing one set of each exercise and then return to the start and complete any movements with additional sets.
- 1-leg Glute Bridge – 2 x 10 each side, hold last rep 10 seconds
- Quadruped Opposites- 2 x 12 each side
- 90/90 Stretch – 2 x 6 each side
- Rhythmic Stabilizations on wall– 2 x 10 seconds each arm
- Side Plank – 1 x 60 seconds each side
Dynamic Warm-up
The following should take 10-12 minutes to complete. Unlike previous warm-up routines listed, this particular warm-up is done in place with prescribed reps. You will also need a jump rope. Complete each movement deliberately. Do not just go through the motions.
- Jump Rope – 50 Singles
- Reverse Lunge with Twist – 1 x 5 reps each
- Jump Rope – Footwork, 50 Scissors
- Jump Rope – Footwork, 50 Jumping Jacks
- World’s Greatest Stretch with twist away from lead leg – 1 x 6 each
- Reverse Inch Worms (in place) – 1 x 5
- Jump Rope – Footwork, 50 High knees
- Lateral Squat – 1 x 10 reps each
- Jump Rope – 10-20 Double Unders
Strength
As with Day 1, exercises below are listed as supersets. In one instance, you will see a tri-set. Tri-sets are performed similar to supersets, but instead of two exercises back-to-back, you now have three.
- 45 Degree Lateral Bound – Continuous – 4 x 6
- Rotational Medicine Ball Slam to the Front – 4 x 3 each side
- Prone Stability Ball W’s – 3 x 8
- Box Squat – 3 x 5
- Feet Elevated Push-up – 3 x 10
- Dynamic Hip Adductor Stretch – 2 x 8 each side
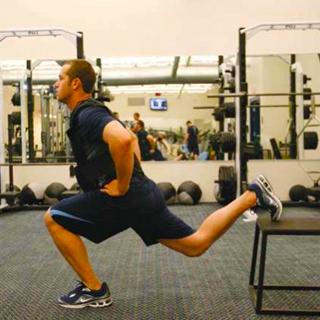
- DB RDL – 3 x 6
- Split Squat 1-arm Band Row – 3 x 10 each side
- DB Goblet Lateral Lunge on Slideboard– 3 x 6 each side
- TRX Low Row, palms up – 2 x 10
- TRX Knees to Elbows – 2 x 12
- Farmer’s Walk – 2 x 40 yards
Conditioning
Build-up Sprints – Build-up sprints start with the baseball player already in motion. In the example below, you will run a total of 60 yards, but only the second 30 yards at 100% effort. Set up cones, use a track, or perform in the outfield. Set up cones at 30 and 60 yards. When you perform the Build-Up sprints, begin your run at 50-75% effort. As you hit the halfway mark, increase your speed to 100% effort.
- 2 30-yard sprints at 50% effort
- 6 60-yard Build-Up sprints: first 30 yards at 75% effort, second 30 yards at 100% effort
- 2 30-yard Build-Up sprints: first 15 yards at 75% effort, second 15 yards at 100% effort
After each sprint, use your walk back to the starting line as your rest.
Static Stretching
- Hamstrings – 1 x 60 seconds each
- Groin – 1 x 60 seconds each
- Piriformis Stretch – 1 x 60 seconds each
- Hip Flexor Stretch – 1 x 60 seconds each
- Calves – 1 x 60 seconds each
Foam Roll
- Glutes – 1 x 60 seconds each side
- IT Band – 1 x 60 seconds each side
- Quads – 1 x 60 seconds each side
- Groin – 1 x 60 seconds each side
- Hip Flexor/TFL – 1 x 60 seconds each side
- Mid/Upper Back – 1 x 60 seconds each side
Day 3
Foam Roll
- Glutes – 1 x 60 seconds each side
- IT Band – 1 x 60 seconds each side
- Quads – 1 x 60 seconds each side
- Groin – 1 x 60 seconds each side
- Hip Flexor/TFL – 1 x 60 seconds each side
- Mid/Upper Back – 1 x 60 seconds each side
Pre-hab
Perform the following movements in a circuit by completing one set of each exercise and then return to the start and complete any movements with additional sets.
- Quadruped Opposites – 2 x 30 second each side
- Quadruped Hip Circles – 1 x 10 forward and backward each side
- Lateral Squat – 1 x 10 each
- TRX W’s – 2 x 12
- Standing Rotations – 2 x 8 each side
Dynamic Warm-up

The following should take 10-12 minutes to complete. Set up two cones 10-15 yards. Start on one cone and move in the direction of the second. When you complete the required distance for a movement, jog back to the starting cone. Complete each movement deliberately. Do not just go through the motions.
- Reverse Lunge with Reach and Lean- 1 x 10 yards
- Quad Stretch with Toe Touch – 1 x 10 yards
- World’s Greatest Stretch (twist optional) – 1 x 10 yards
- Inch Worms – 1 x 10 yards
- Straight Leg March – 1 x 10 yards
- Straight Leg Skip – 1 x 10 yards
- High Knees – 1 x 10 yards
- Butt Kicks – 1 x 10 yards
- High Skip – 1 x 10 yards
- Lateral Shuffle – 1 x 10 yards each direction
- Shuffle, Shuffle, Sprint – 2 x 10 yards each direction – 75% effort
Strength
Again, supersets and tri-sets are utilized similar to Day 2. The final two exercises/movements are listed by by themselves and not together. For the second to last movment, perform the first set, rest for 30-60 seconds, then repeat for the second set. Then, move to the final exercise and perform in the same manner.
- 90 Degree Rotational Broad Jump – 4 x 3 each direction
- Medicine Ball Chest Pass– 4 x (5 x 5)
- Rhythmic Stabilization (Throwing Position) – 2 x 10 seconds each – 90/90 position and follow through position
- BB Glute Bridge – 3 x 8
- Chin-up – 2 x 8, 2 x Max
- DB Reverse Lunge to RDL – 3 x 5 each side
- TRX Rotational Pull – 3 x 6 each
- Wide Stance Anti-Rotation Chop – 2 x 10 each side
- Hand March (plank position) – 2 x 20
Conditioning
Lateral Sled Drags – Attach a TRX strap or other handles to a sled. Turn sideways and hold the handle with one hand. Start by driving the knee of your trail leg up and across the front of your body. Drive it back through the ground to move laterally.
- 6 x 20 yards each direction; rest to full recovery between sets (at least 1-2 minutes, longer if needed)
Static Stretching
- Hamstrings – 1 x 60 seconds each
- Groin – 1 x 60 seconds each
- Piriformis Stretch – 1 x 60 seconds each
- Hip Flexor Stretch – 1 x 60 seconds each
- Calves – 1 x 60 seconds each
Foam Roll
- Glutes – 1 x 60 seconds each side
- IT Band – 1 x 60 seconds each side
- Quads – 1 x 60 seconds each side
- Groin – 1 x 60 seconds each side
- Hip Flexor/TFL – 1 x 60 seconds each side
- Mid/Upper Back – 1 x 60 seconds each side
Week by Week Progressions
Remember, Phase 3 is one month in duration – 4 weeks. Each week you should be making small adjustments to each exercise so as to change the sets, reps, or weight. Here are some quick guidelines to help you make those progressions.
- Power-based exercises such as jumps, bounds, and medicine ball throws should be adjusted minimally. Add one rep in Week 2, another in Week 3. For Week 4, return to the same rep scheme as Week 1.
- The deadlift and box squat can be kept at 3 sets of 5 reps each week. Add 5 pounds each week to each lift.
- For exercises involving dumbbells (DB) or cables, increase 6 reps to 8, and 8 reps to 10. Keep the weight the same when making these rep increases. After completing a week at 10 reps, return to 6 reps for the exercise, but increase the weight.
- For bodyweight exercises such as those that use the TRX or no equipment at all, follow a similar method using 8, 10, and 12 as your rep increments.
Final Words
The sample Phase 3 program outlined above should give you a solid continuation from Phase 2 of your off-season baseball strength program. Phase 3 will continue to progress you to more advanced movements from Phase 2, challenge you a little more in your movement patterns and overall strength, and build upon the foundation of strength, mobility, and stability you have already built in Phases 1 and 2.
If you have any questions, feel free to contact us using the contact page on the menu above.
Good luck!